If you are working with LibreOffice code, trying to understand the code, fix bugs, or implement new features, you will need to debug the code at some point. Here are some general tips for a good debugging experience. Let’s start from the platform
Choose the Right Debug Platform
Choosing a platform to debug usually depends on the nature of the problem. If the problem is Windows-only, you need a Windows environment to build and debug the problem. But, if the problems can be reproduced everywhere, then you can choose the platform of your choice with the debugging tools that you prefer to debug the problem.
On Linux, it matters if you are running X11 or Wayland. Also, as there are multiple graphical back-ends available for LibreOffice, it matters if you are using X11, GTK3/4, or Qt5/6 back-end for your debugging. Some bugs are specific to GTK, then you should use GTK3 UI for testing. In 2025, GTK4 UI of LibreOffice is still experimental, so it is better to work with GTK3. For making the debugging easier, many developers work on X11 (gen) UI for debugging.
Debugging Tools
Various debugging tools can be used to debug the soffice.bin/soffice.exe LibreOffice binary that you have built. For the common debuggers, you can use GDB on Linux, lldb on macOS, and WinDbg or Visual Studio on Windows.
For using the above debuggers, you can use the IDE or front-end that support them. Various IDEs are usable with LibreOffice code. For a detailed explanation, refer to this Wiki article:
Make sure that you can build and debug a simple program before trying to build and debug LibreOffice.
Environment Variables
To have a better debugging experience, or to avoid problems you may have to customize the debugging session with environment variables. A complete article of the TDF Wiki is dedicated to discuss the environment variables that can be used with LibreOffice:
Here is some of the most important ones:
1) Using the X11 user interface:
If you want to use the X11 back-end that is simpler, and usually easier to work with on debug sessions, you have to set SAL_USE_VCLPLUGIN environment variable:
export SAL_USE_VCLPLUGIN=gen
That is specially useful when you are debugging graphical problems. But in some cases, you may need to avoid it or at least customize it. For example, while debugging mouse-related problems you may need to tell LibreOffice to avoid mouse grabbing this way:
export SAL_NO_MOUSEGRABS=1
2) Using GTK user interface
If you are using GTK user interface, then you may use GTK inspector to interactively debug LibreOffice GUI. You can use it this way:
export GTK_DEBUG=interactive
Pretty Printers
In solenv/gdb/ inside LibreOffice source code, you may find pretty printers for GDB. This is helpful when debugging LibreOffice with GDB, to be able to see data in a more readable way.
Dumping Data
Sometimes when you debug a LibreOffice application, it is easier to …


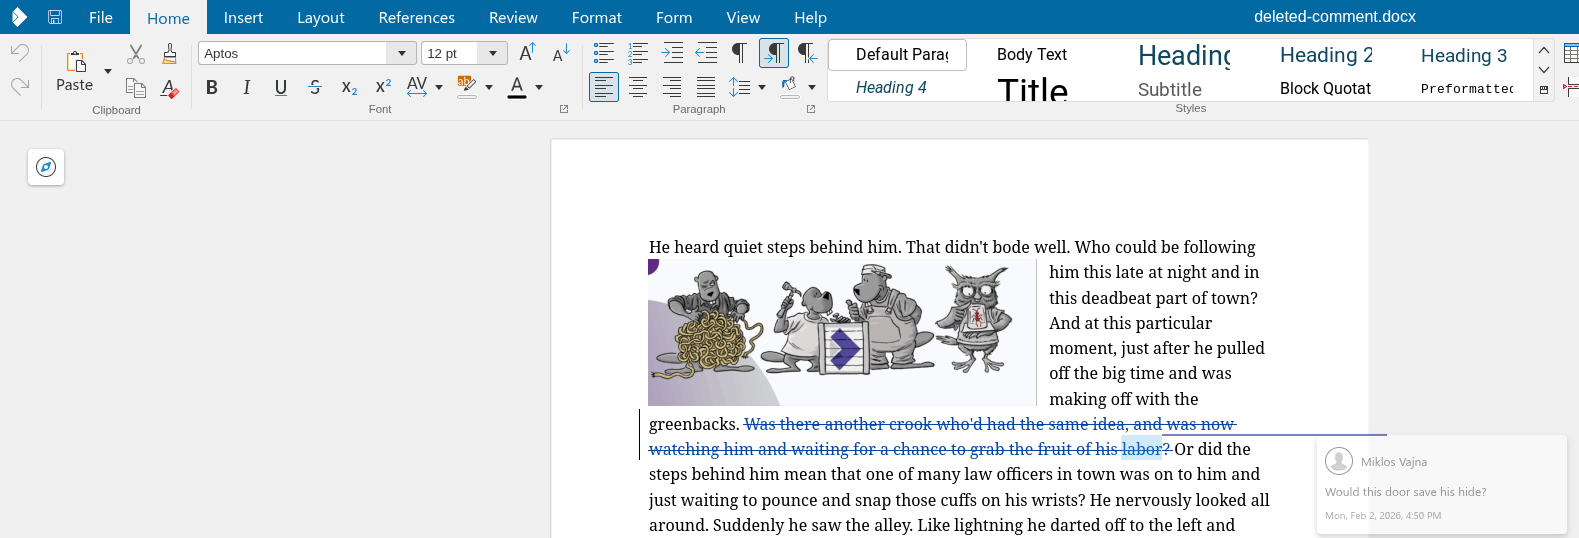 Commented text range, inside a tracked delete, in DOCX, Collabora Online
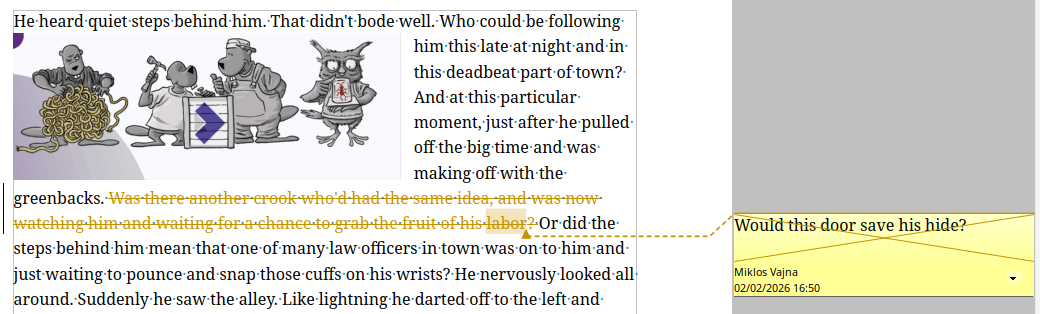 Commented text range, inside a tracked delete, in DOCX, desktop
 Commented text range, inside a tracked delete, in DOCX, Collabora Online, old bad state
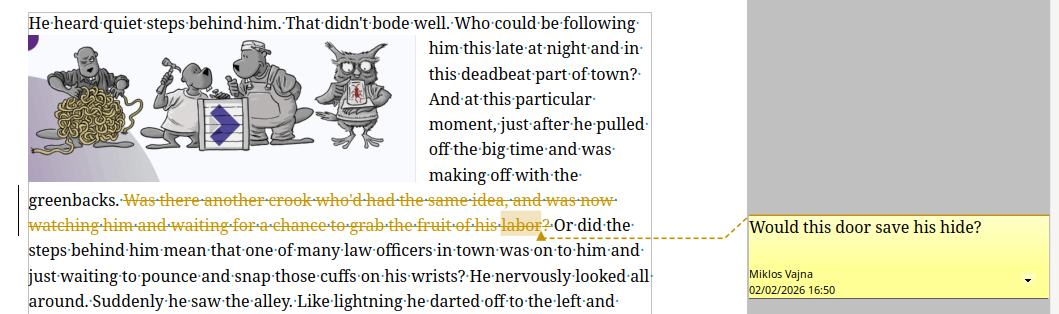 Commented text range, inside a tracked delete, in DOCX, desktop, old bad state
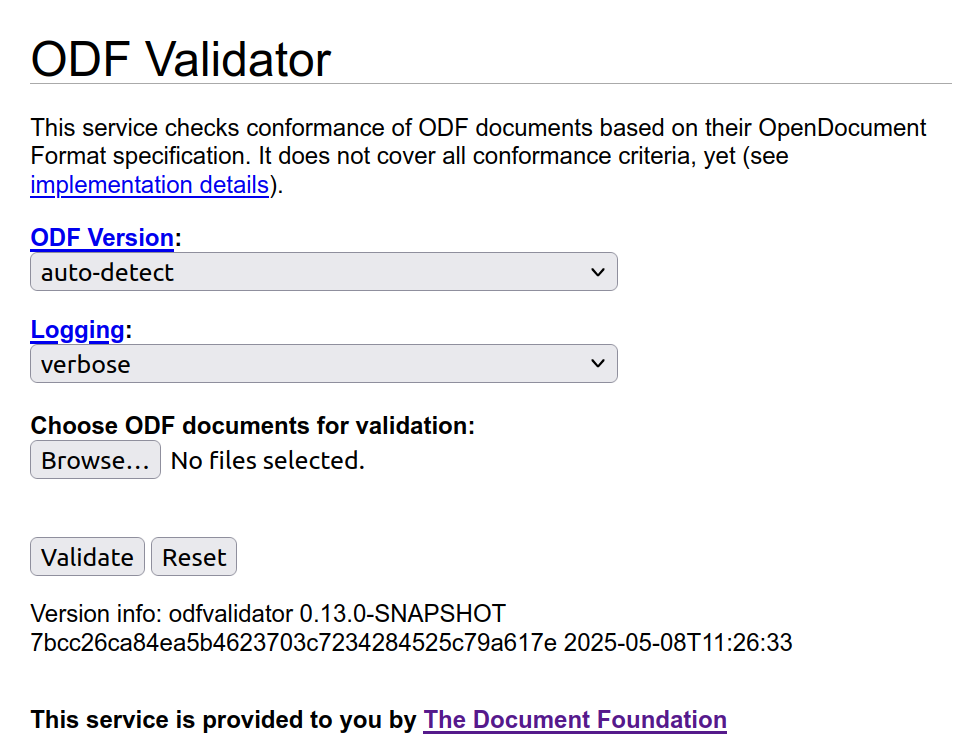 Online odfvalidator tool
 Outliner shape with 3 outliner styles
 Outliner shape with a numbering on the second level
 Outliner shape with two outline styles
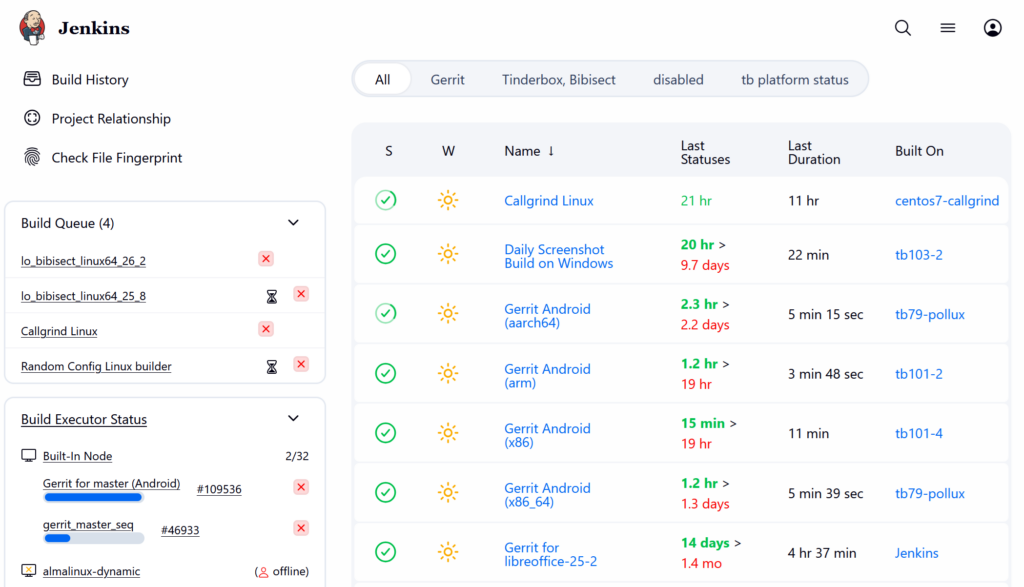 LibreOffice CI uses Jenkins
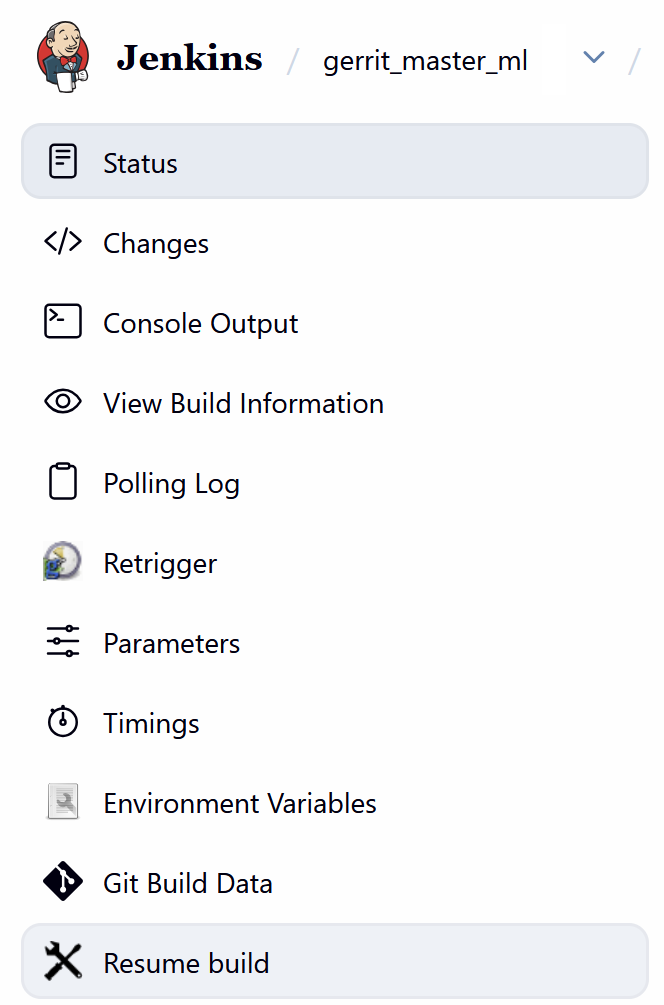 Resume build in LibreOffice CI
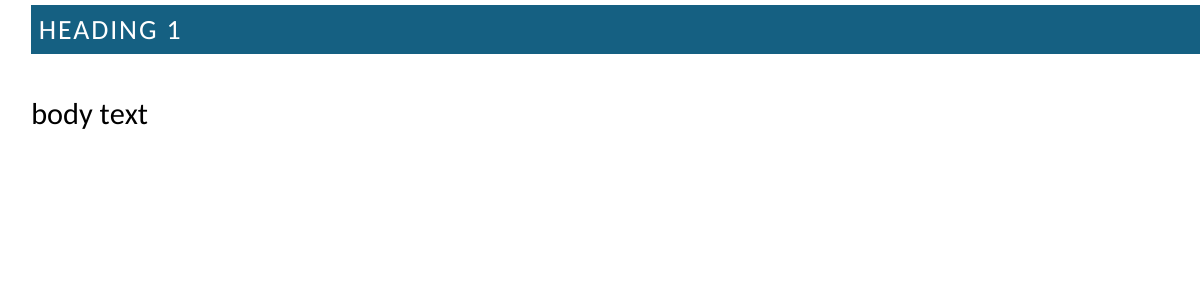 PDF result: templated
 PDF result: default
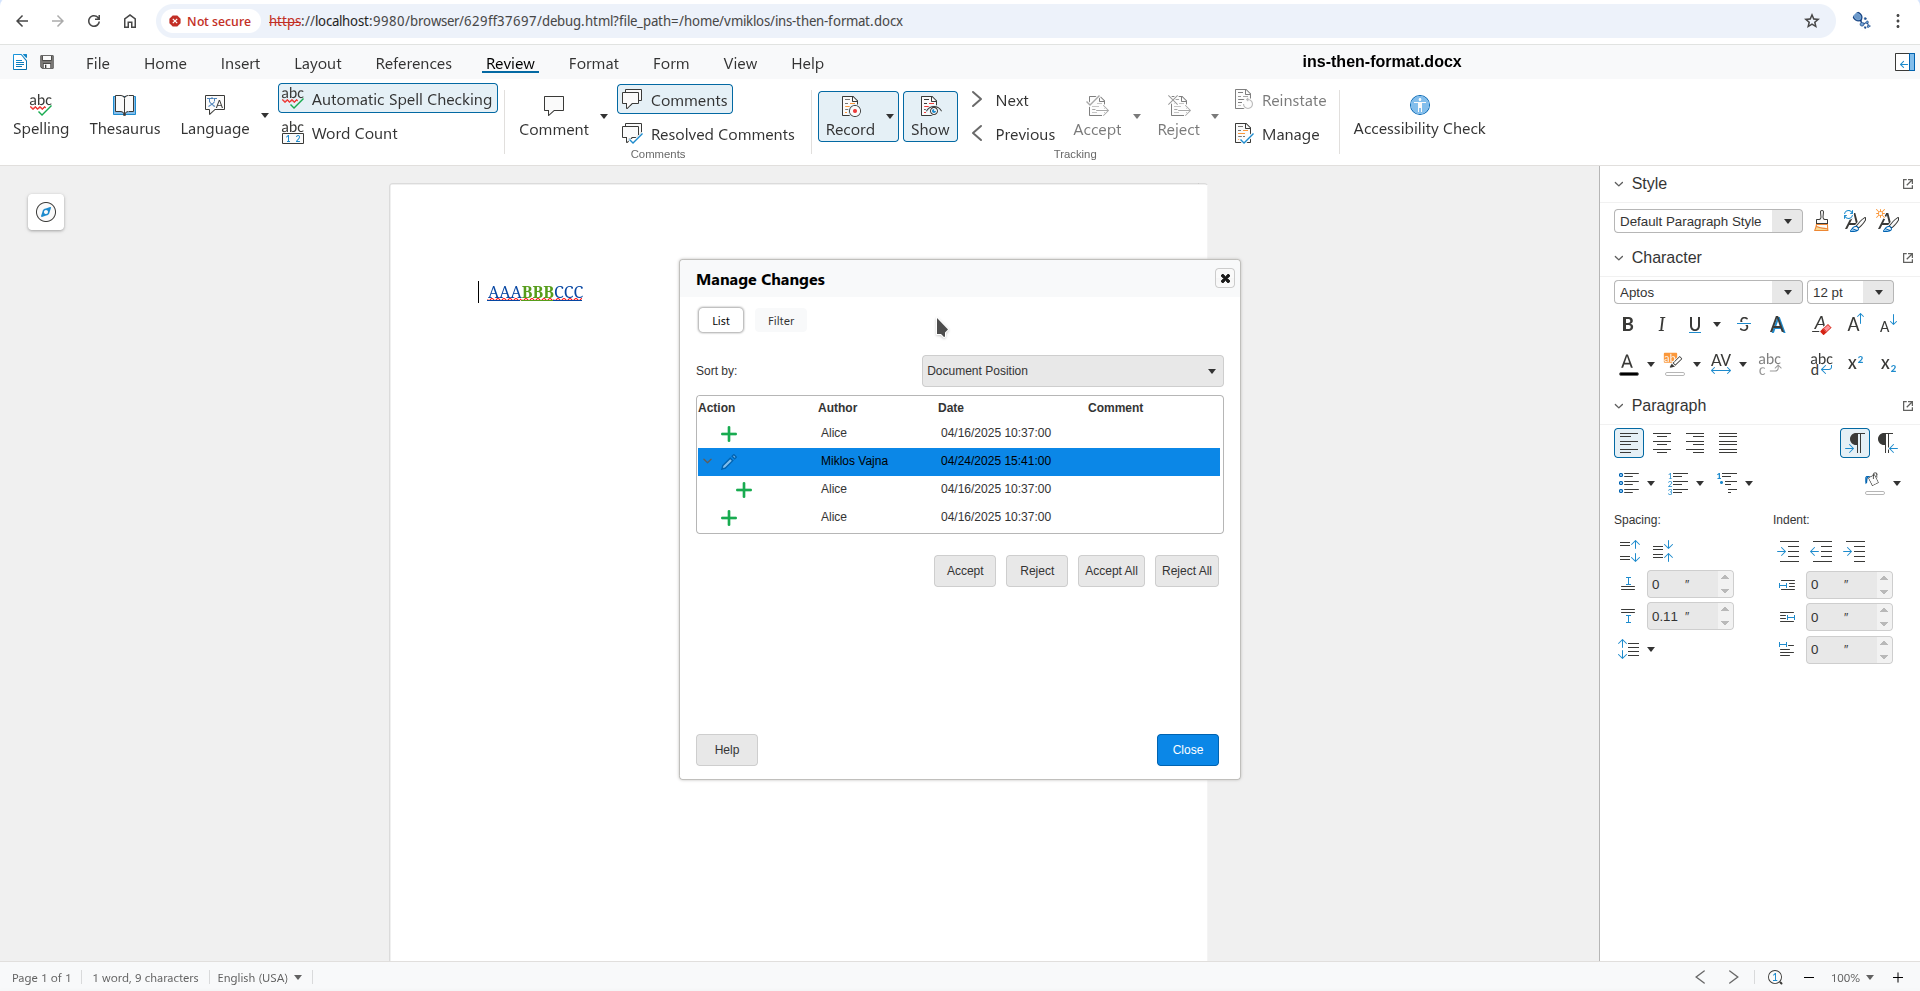 Interdependent tracked change: baseline
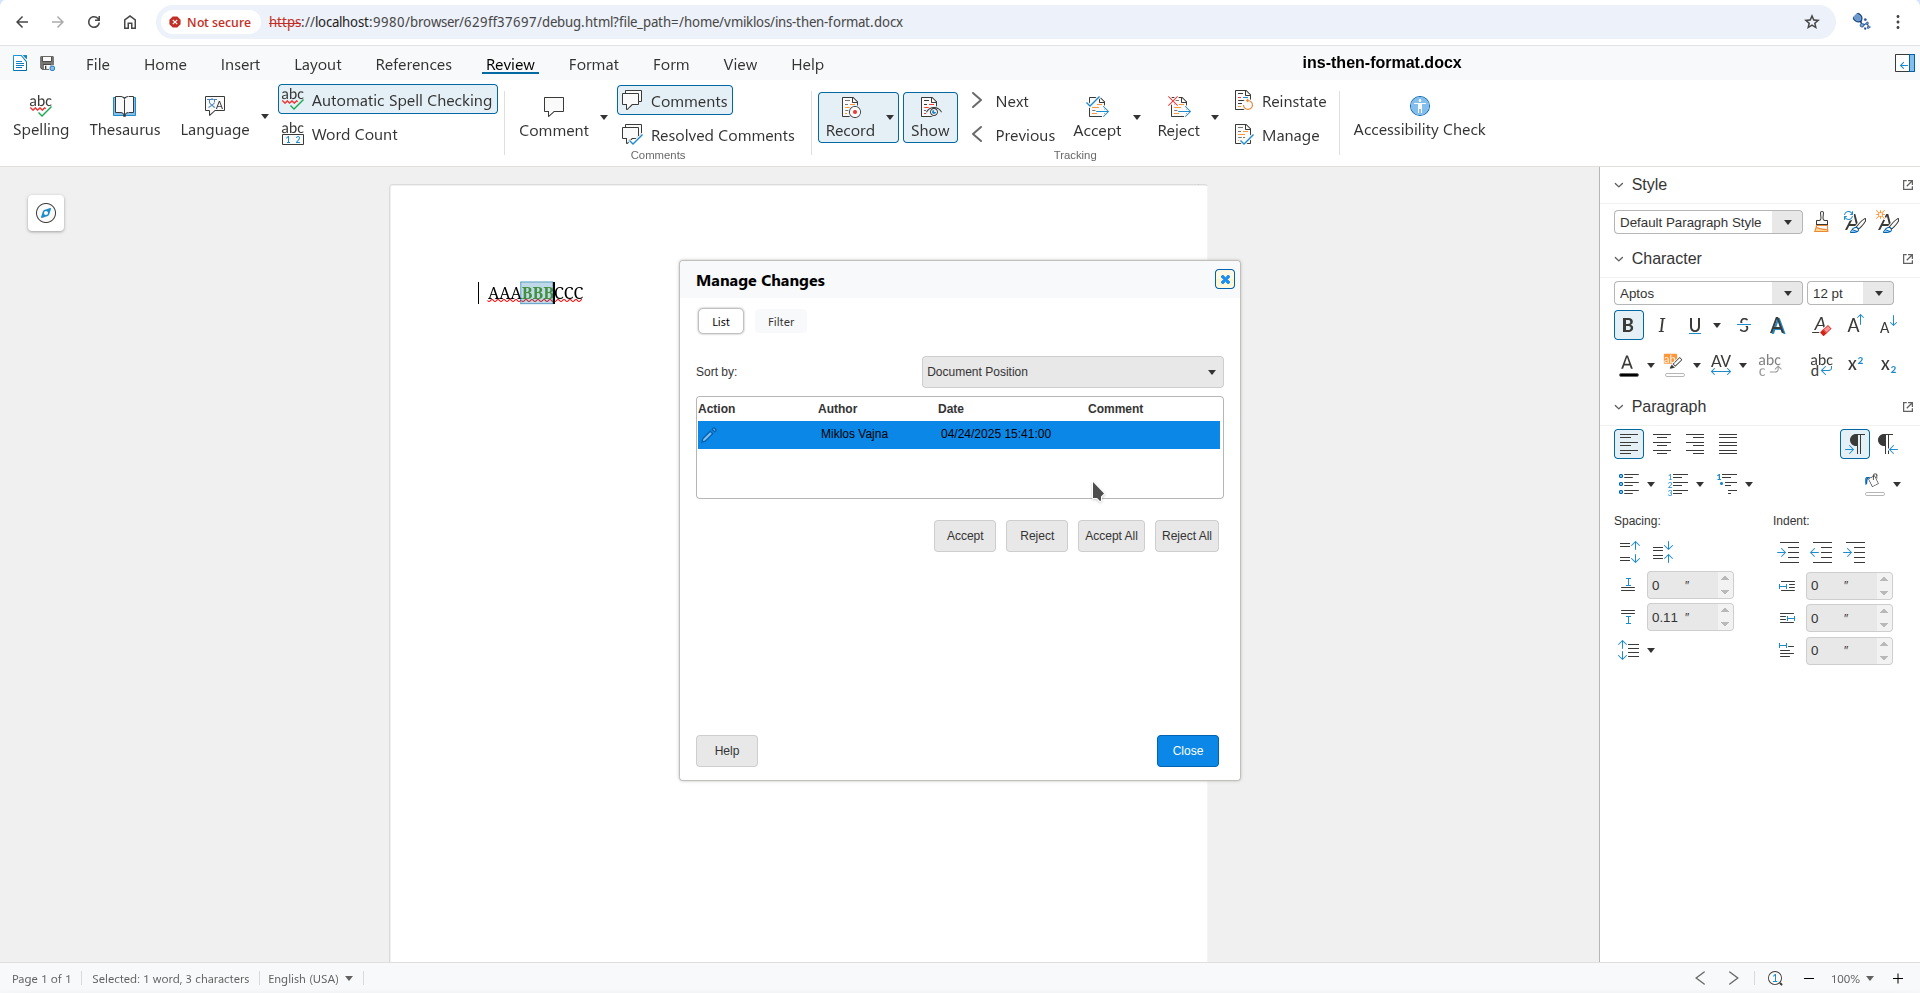 Interdependent tracked change: default accept result
 Interdependent tracked change: direct accept via the dialog
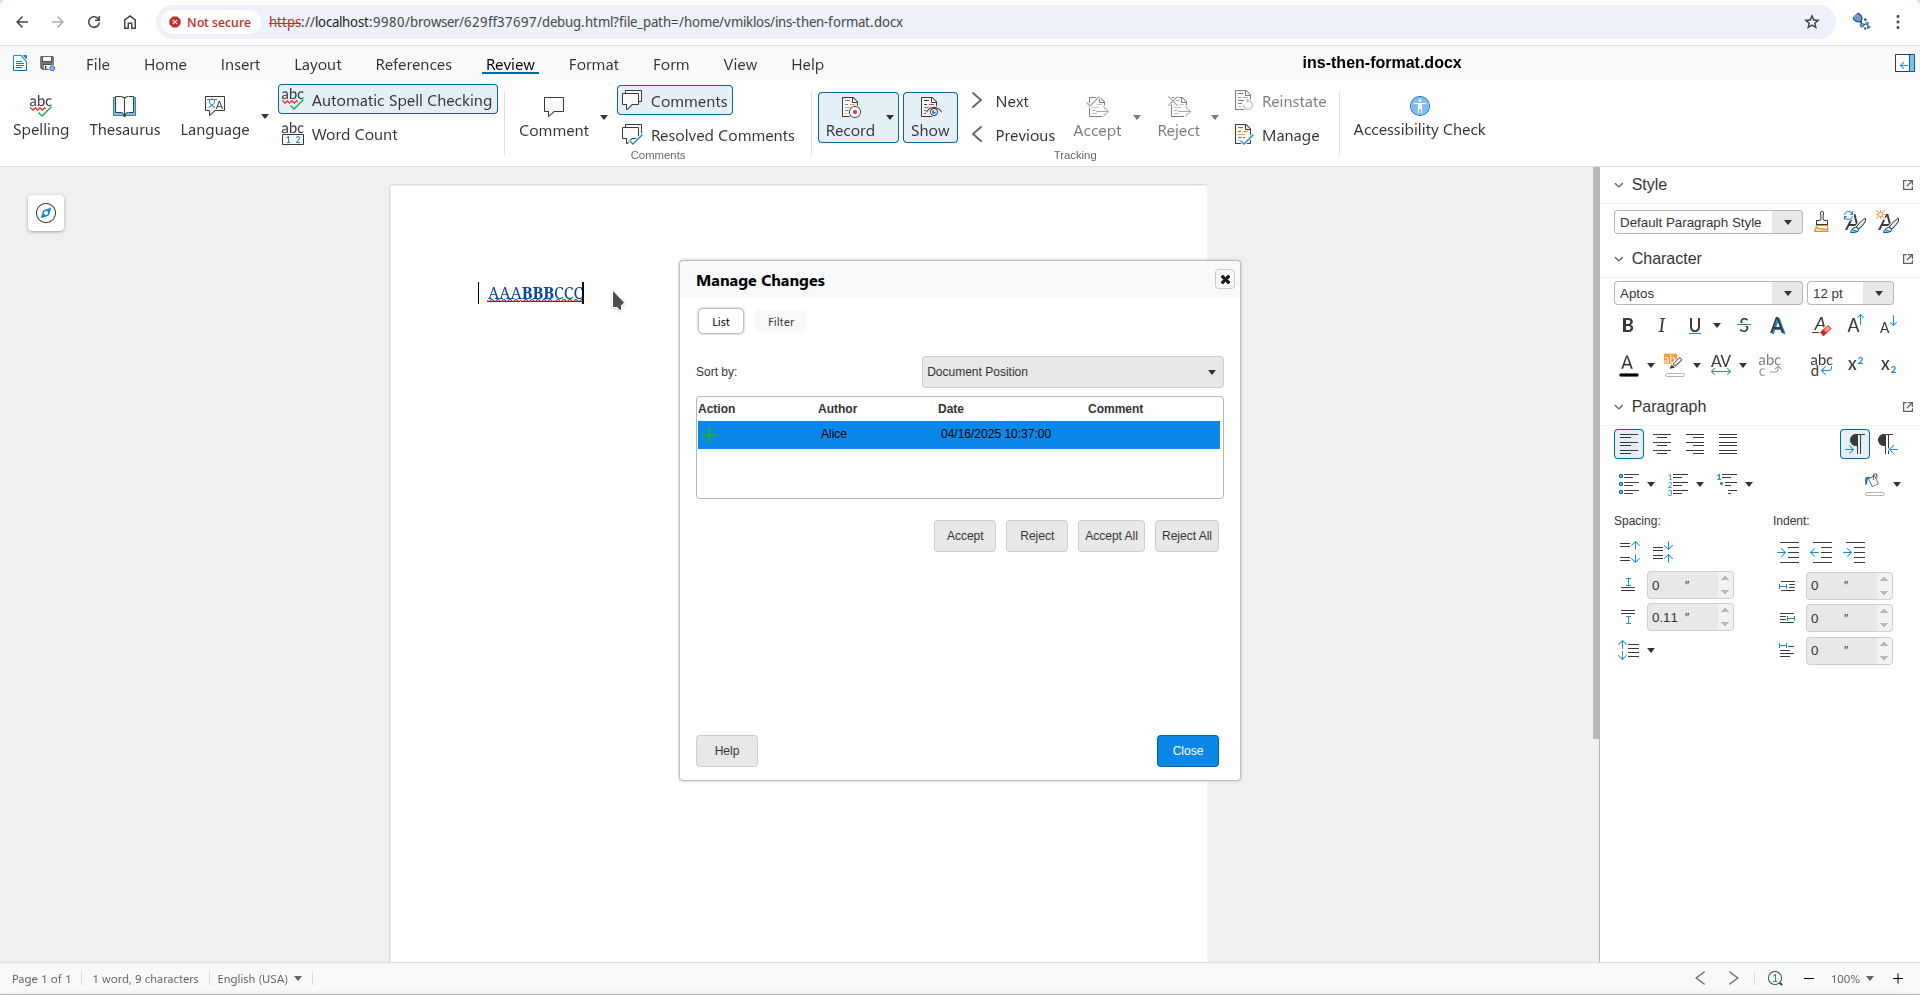 Interdependent tracked change: direct accept result
 Code span: baseline
 Code span: old result
 Code span: new result
 Lists: baseline
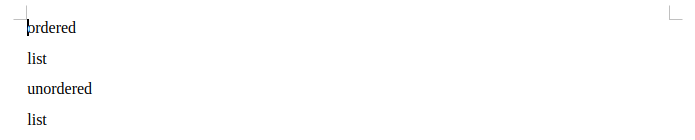 Lists: old result
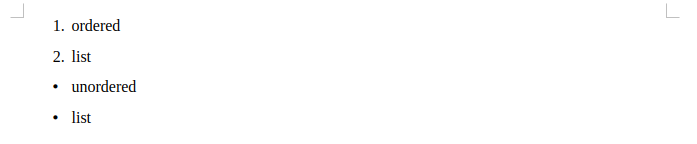 Lists: new result
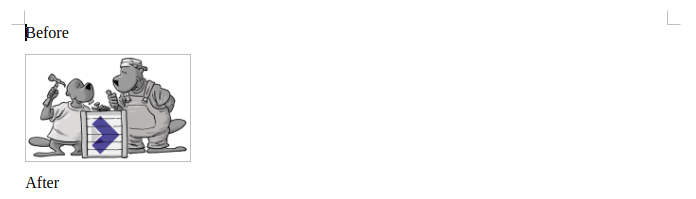 Image: baseline
 Image: old result
 Image: new result
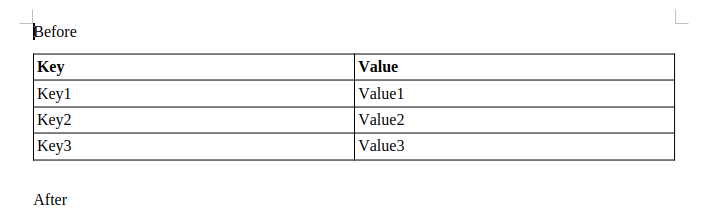 Table: baseline
 Table: old result
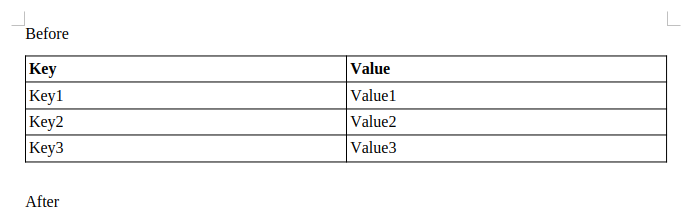 Table: new result
 Quote: baseline
 Quote: old result
 Quote: new result
 Interdependent tracked change: improved format, after document load
 Interdependent tracked change: old reject, lost character style / direct format
 Interdependent tracked change: new reject, handled character style / direct format