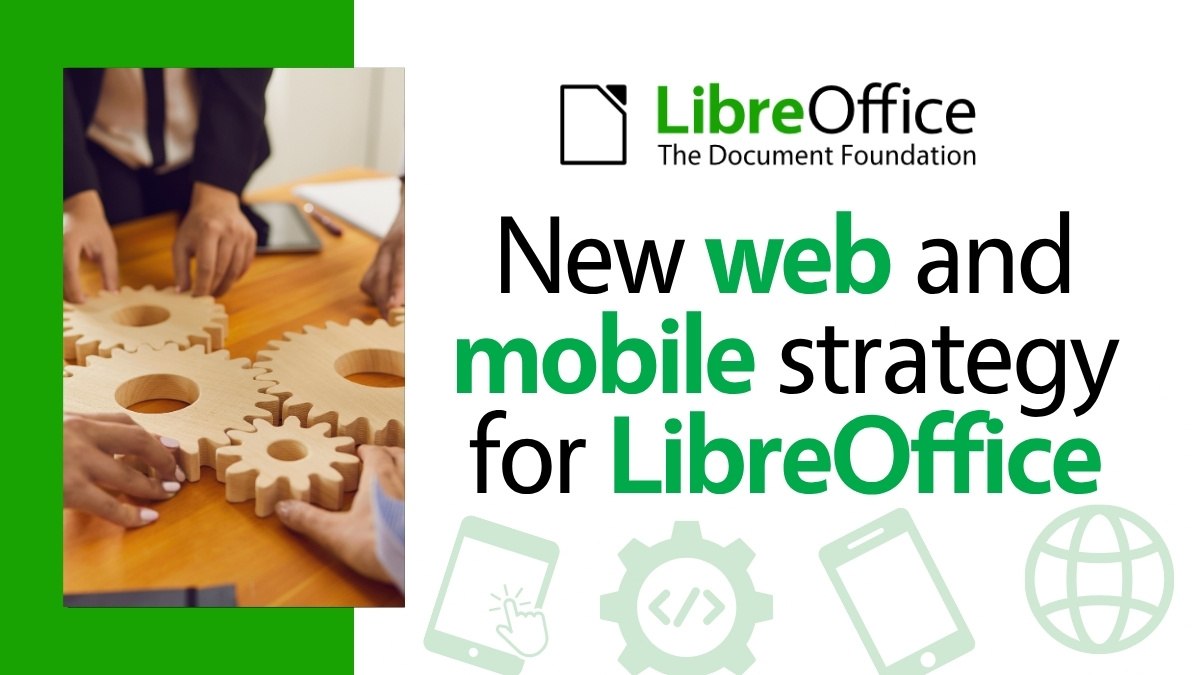
Executive Summary
This proposal suggests restarting LibreOffice web, mobile, and cloud development by structuring the project into a set of independent initiatives. Each initiative can be pursued separately from the others, and their deliverables will be useful improvements to LibreOffice even without the other components.
• Responsive user interface
• Web distribution based on desktop version using WebAssembly
• Mobile distributions based on desktop version
• Document server and integration
• Client-server collaborative editing
One of the greatest risks to large software projects is schedule slip due to dependencies between components. By structuring the project as independent initiatives with separate deliverables, rather than a single monolithic project, we can reduce that risk. This approach also calls for a high level of code sharing across the desktop, web, and mobile versions, which will reduce both our initial development and long-term code maintenance costs.
The result of this project will be a blended web, mobile, and cloud offering and development strategy, which will signal to the public that LibreOffice is on a clear trajectory toward achieving technical parity with the major commercial office suites. In lieu of invasive first-party cloud service integrations, we will aim to offer server components that are lightweight and inexpensive to host, and make it easy for users to work with multiple server providers.
Please note that this document is intended as a strategy proposal, not as a technical specification or project plan. Technical and planning commentary in this document should be considered speculative. Additional work is needed to prepare concrete implementation plans for each initiative, should we choose to proceed with this strategy.
Market Analysis
Consumers
Due to the nature of our project, we have relatively little visibility into the needs of our end users. We also have limited resources to conduct primary market research, in part out of consideration for user privacy. Most of our institutional understanding of end user needs comes from engaged community members who volunteer their time to advocate for their particular interests, which may not be representative of larger populations.
Rather than investigate the needs of end users directly, we can instead borrow from economics and examine the revealed preferences of consumers: if a great majority of people select one product over its alternatives, ceteris paribus, we may safely assume those people prefer that product. Thus, the features our major competitors use to distinguish themselves can serve as signposts for what users consider when choosing between cloud-enabled office suites.
Service Providers
One special case is the group of users who are invested in deploying and operating cloud-enabled office suites. This category ranges from institutional IT decision-makers, to on-premises cloud software vendors such as Nextcloud.
The Document Foundation has not been previously involved with developing or marketing a cloud-enabled office suite. As a result, we have few direct contacts we can use in order to gather requirements. However, we may be able to draw some conclusions about what this category of consumer wants based on public comments and prevailing economic and regulatory conditions.

For server operators, the world looks quite different today than it did when the LibreOffice project was founded. Application hosting costs have risen dramatically, driven by a complex interaction of increasing energy costs, server component supply chain disruptions, excess demand due to AI speculation, and vendor consolidation. We can no longer expect users to host applications that perform unnecessary computation inside the datacenter, where space, hardware, and energy are all at their most expensive – and are needed for other business activities.
In addition to more immediate financial concerns, software sustainability / “green coding” has continued to develop among policy, government procurement, and investor risk management (ESG) circles. For one concrete example, the 2024 French RGESN V2 (“Référentiel général d’écoconception de services numériques”) mandates software eco-design principles and resource efficiency for certain types of public procurement. Many other jurisdictions are developing similar regulations, including Germany and the UK.
In order for a LibreOffice cloud initiative to succeed, we must at minimum offer software that server operators can afford to host. While these macroeconomic conditions are still evolving, it seems clear enough that service providers will grow increasingly sensitive to operating costs, and will prefer applications that require less energy, bandwidth, and system memory in the short term. As there is currently no energy-efficient cloud office suite based on open document standards, it is possible that open standard adoption will be impaired should we fail to provide one.
Competitors
The cloud-enabled office suite market is overwhelmingly dominated by two competitors: Microsoft and Google. Their products are closed-source, distributed under restrictive terms, lack on-premises hosting [1], and are tied to proprietary document formats. Combined, Microsoft and Google capture roughly 96% of the total addressable market. The remaining 4% is divided among a long tail of small vendors, with office suite products that range from the purpose-built for specific national markets, to nascent general-purpose suites that have yet to achieve product-market fit. Market shares for firms within this 4% long tail are too low to individually estimate with any accuracy.
We are all familiar with this breakdown, but it does not go without saying. It takes conscious effort to maintain a clear perspective about a global market. Due to our history, we have interacted with office suite projects from the long tail of this market more than we have interacted with the market leaders. This history risks leading us to focus on the wrong problems.
In order to achieve the goals of our foundation, we need to reset our expectations. Revealed consumer preferences suggest there are only two cloud-enabled office suites that offer what users need: those of Microsoft and Google. We should aim high, and plan with the intention that we will provide credible alternatives for Microsoft and Google products that comply with our values.
Microsoft 365
Distinguishing features
It is Microsoft Office
Microsoft Office is considered the default office suite by most prospective users, and the Microsoft 365 web offering benefits from this association.
Feature-limited web version with streamlined user interface
Much like their sole competitor, the Microsoft 365 web versions offer a greatly simplified user experience which is optimal for everyday, quick document authoring. The user interface is stripped down, but looks visually similar enough to the desktop applications to be familiar to experienced users.
Full-featured desktop versions available for advanced users
The Microsoft 365 web versions do not replace the classic desktop versions. Both versions are provided to users, and the web version guides users to open documents in the desktop version for editing.
Cross-platform collaboration between web and desktop
Collaboration and cloud features are usable from both the web and desktop versions. Collaboration requires documents to be stored on either OneDrive or SharePoint.
Weaknesses
Web versions are based on a different codebase
Although the Microsoft 365 web applications visually resemble their desktop counterparts, to our understanding they are greenfield efforts. The web versions suffer from interoperability issues with the desktop versions, prompting user complaints.
Web versions are feature-incomplete
The Microsoft 365 web applications are missing features that are present in the desktop versions. Some of these features are obscure, but many aren’t (for example, dragging images to move anchors). The web version compensates for this by offering an easy transition to the desktop version for more intensive editing work.
No on-premises option
Since Microsoft discontinued the Office Online Server, it is no longer possible to host the web version locally. Using the web version requires Microsoft cloud services.
Limited data control
Microsoft 365 allows local and on-premises document storage (SharePoint). However, using collaboration features requires communication with Microsoft cloud services, even if the document is hosted on premises.
Google Workspace
Distinguishing features
Web-native
Google Workspace is a web application. It loads quickly, and the user interface is highly responsive.
Simple, streamlined user interface
As with Microsoft 365’s web versions, Google Workspace offers a feature-limited and streamlined user experience which is optimized for simple document editing tasks.
Ubiquitous
Google Workspace is tied/bundled with Google’s other services. It is automatically available to any user who has a Gmail account. Sharing and collaboration is as easy as sending an e-mail.
Documents aren’t files
Within Google Workspace, documents exist as abstract entities in a persistent cloud. Documents are always stored on the server in Google proprietary document formats.
Disadvantages
No native desktop version
Google Workspace is designed around a persistent internet connection. The primary application is a web application hosted on Google servers. The mobile versions are hosted locally, but have artificially limited offline modes.
Feature set is extremely limited
Google Workspace is missing all but the most trivial document formatting features. Although this is sufficient for many use cases, it is not a complete office solution. In practice, Google Workspace must be supplemented with standalone Microsoft Office licenses in commercial deployments.
No on-premises option
Google Workspace is a cloud-native web application. It was designed around Google’s cloud services, and cannot be separated from them.
No data control
Google Workspace does not allow local or on-premises document storage. Documents cannot be viewed or edited without uploading them to Google’s servers. For regulatory compliance reasons, Google Workspace allows on-premises backup of cloud documents, but there is no official way to restore those backups.
Lessons
We are LibreOffice
LibreOffice is the most successful free and open source office suite. Our brand is valuable, and our user base is dedicated. While we do not have an advantage over Microsoft in this area, this is also not a weak starting position. Many users and organizations will evaluate our offering simply due to name recognition. It is therefore crucial to avoid tying our brand identity to products or technical approaches that do not show clear trajectory toward meeting the needs of users and operators.
Availability rather than interoperability
On the desktop, we have long considered Microsoft Office interoperability a key obstacle for broader LibreOffice adoption. This assumption does not apply to the cloud-enabled segment. Google Workspace has achieved a large market share despite lacking support for Microsoft Office document formats (only lossy import and export). If Google Workspace is not hindered by their Microsoft-incompatible document models based on proprietary file formats, we will not be hindered by ours based on open standards.
With cloud-enabled office suites, document exchange between users of different office suites is achieved by sharing links that can be opened in standard web browsers. This is important to support.
Same code – feature complete
By reusing the existing LibreOffice source code to drive the web version, we can avoid the compatibility issues and feature set limitations present in the major competing products. A feature-limited user experience is then a choice we can allow users to make, rather than forcing it on users due to implementation strategy.
Streamlined web experience available
Both major competitors treat their web versions as a secondary workflow, to be supplemented with a complete desktop office suite. Their user interfaces are optimized for quick viewing and editing, either on a secondary device or while quickly browsing files stored in a cloud storage application. We should consider also displaying such a streamlined user interface, at least by default; both major competitors collect user telemetry, so it is reasonable to suppose their decision was evidence-based.
Cross-platform collaboration between web and desktop
This is a key differentiator for Microsoft 365. We should provide the same capabilities. All cloud-based features should be equally usable from the desktop version as the web version.
Responsive user interface
Users can interact with Microsoft 365 and Google Workspace documents without blocking on client-server communication. Editing is smooth, and has a near-desktop feel. We should aim to provide a similar user experience.
On-premises hosting – no privileged cloud provider
Neither major competitor offers on-premises options for hosting or cloud services. This is an area where we can distinguish ourselves, but it is also a challenge. By privileging their own cloud services, Microsoft 365 and Google Workspace can simplify distribution and make cloud features available to users regardless of technical expertise.
In order to close this capability gap, we should design toward a world of many small clouds. We should encourage the proliferation of LibreOffice server components by designing them to be easy and inexpensive to host. Our client-server architecture should be designed to respect the limited computational and bandwidth resources of small cloud operators, and we should perform all expensive computations on the client side.
The desktop application should be designed with the assumption that users will adopt multiple cloud providers for different purposes, including on an ad hoc basis for one-time document collaboration.
Development Plan
Overview
Developing a web and cloud product is a major undertaking. In order to minimize project risk, this development plan is based around decomposing the project into multiple independent initiatives. Each initiative will have separate milestones and deliverables. We must complete all initiatives in order to have a competitive cloud strategy, but each initiative is an independent useful feature.
Responsive user interface
LibreOffice already offers multiple user interface styles. This initiative will expand on that prior work to offer a new optional user interface mode which is optimized for web and touch-based devices. The user interface should scale appropriately based on window dimensions, and should make uncommon actions possible, if not easy.
Specific user interface design and evaluation will be conducted as part of this initiative. This work should include closer studies of our major competitors.
Once the responsive user interface implementation is complete, it will be used as the default configuration for both the web and mobile distributions.
Web distribution using WebAssembly
We already have a working prototype of LibreOffice built for web browsers, which uses Qt and WebAssembly. This prototype is still in a rough state, but it demonstrates it is possible to create a version of LibreOffice for web which does not require large-scale duplication of effort or resource-intensive server components.
This initiative will build upon this WebAssembly prototype. Since the WebAssembly prototype already works, initial efforts in this area will mostly focus on polish and packaging, in order to create a minimally viable web-deployable version of LibreOffice.
Mobile distributions based on desktop version
This initiative will build upon ongoing research efforts to standardize on the Qt 6 VCL backend. The initial focus will be creating some minimally functioning builds of the desktop version of LibreOffice for Android and iOS emulators. Once working, these versions can be incrementally improved.
Document server and integration with desktop version
LibreOffice already supports a variety of remote file services. This initiative will build upon that prior work to introduce an easy-to-host LibreOffice first-party document server. This initiative will also include creating a more streamlined user experience for interacting with these servers.
This initiative will include research to identify best practices and any open standards we can adopt. The document server should be designed in a manner that can be easily extended or incorporated into other services.
Client-server collaborative editing
This initiative will study and incrementally implement client-server collaborative editing in the LibreOffice desktop version. For development purposes, we will initially use direct TCP/IP connections between LibreOffice instances. Eventually, the document server will be modified to coordinate collaboration and act as a proxy between clients.
There are outstanding proposals to develop peer-to-peer collaboration, in addition to adopting other distributed networking and file sharing technologies. That is an excellent vision for LibreOffice. However, that vision touches on many active research areas in computer science. At this time, it is not entirely clear how we should best approach executing on those proposals.
In order to reduce total project risk, this proposal suggests first implementing collaboration using a client-server network architecture, with a single authoritative state.
Support for client-server collaboration is not exclusive of peer-to-peer collaboration. The software changes we make to support client-server collaboration are also necessary for peer-to-peer collaboration. By making these changes separate of the hard peer-to-peer research problems, we will reduce the risk of a future peer-to-peer project and make it more attractive for development.
[1] Microsoft Office Online Server was discontinued in October 2025.
UPDATE: We have opened a discussion here: https://community.documentfoundation.org/t/web-and-mobile-development-strategy-proposal/13729

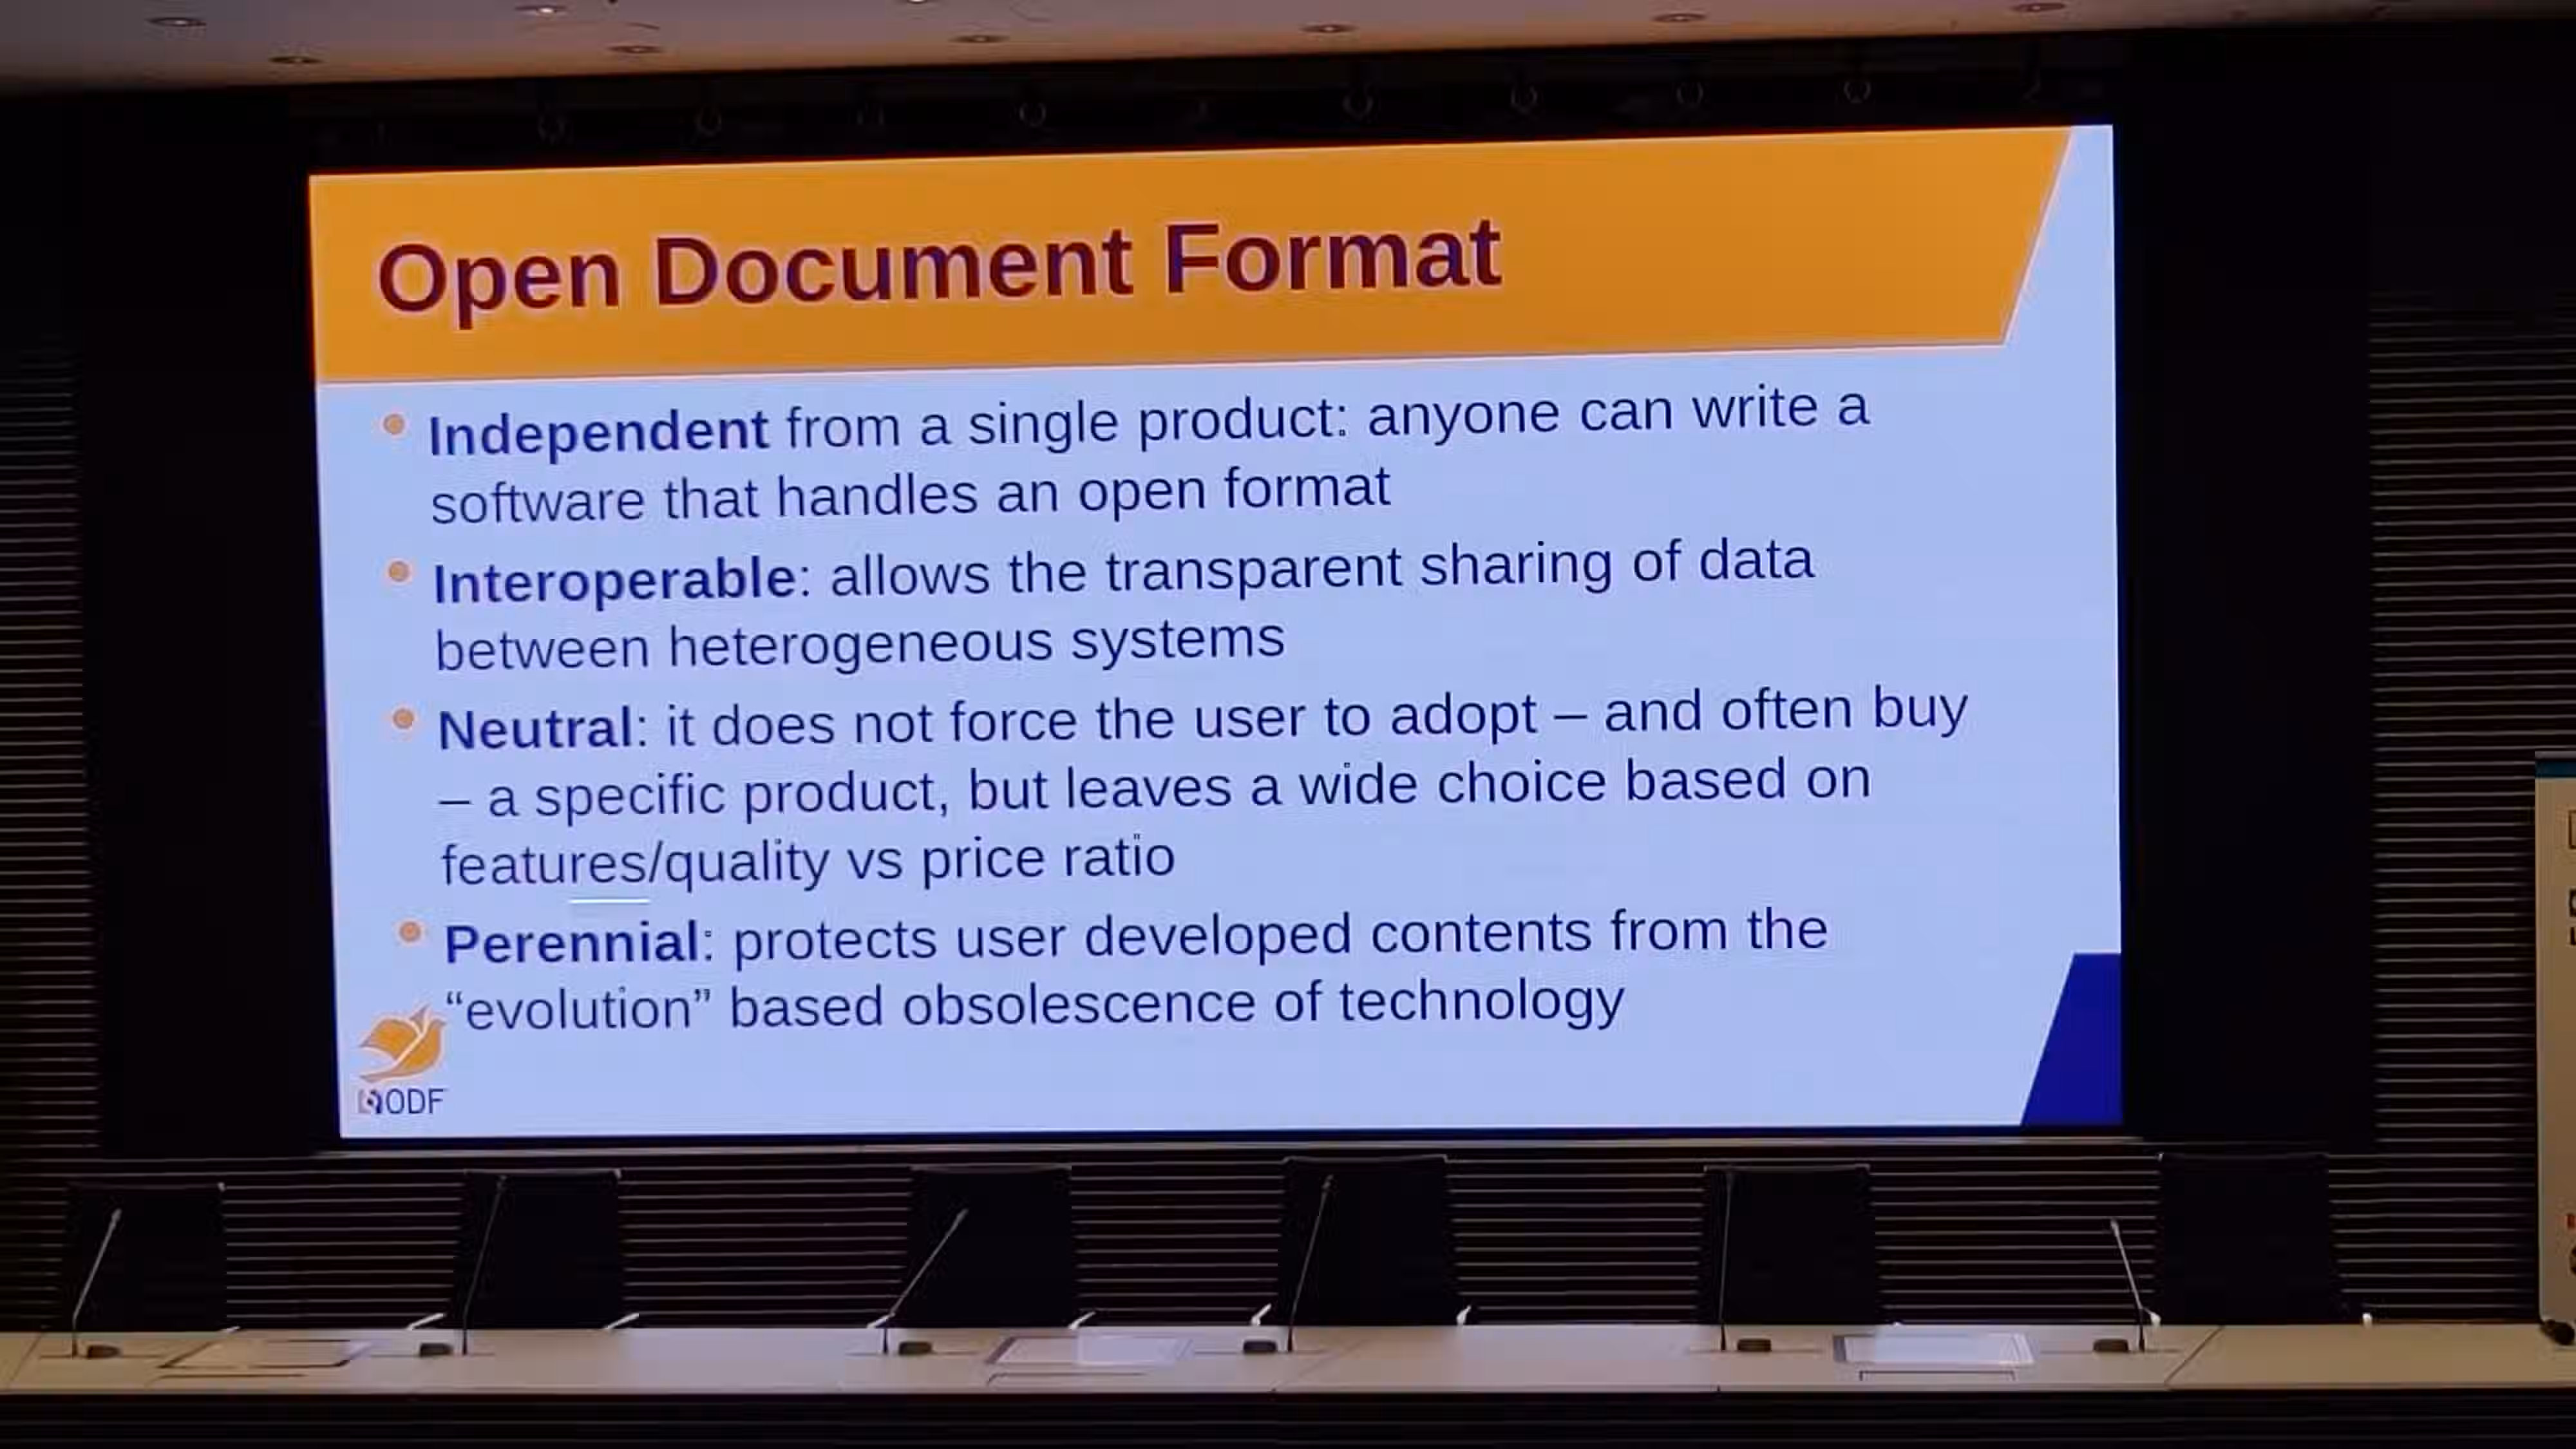
 When a public administration is told its documents are stored in “an ISO standard format,” the assumption is reasonable: an ISO standard ought to be a clean, implementable specification that any qualified software vendor can support. Standards exist precisely so that nobody is locked to a single supplier.